2 Accessing the server
The first thing we need to work with a remote server is to access to it. We are going to use the Secure SHell (SSH) protocol for this. SSH is a protocol to connect two computers over a network. The secure part means that contents will be encrypted on transport, so no plain text information will be send (important to avoid password and keys leaking). Basically this means that we will be using a terminal as if we were sitting in front of the server.
We also need two other things, an address and a port.
To be able to reach the server, we need to know where it is. This is usually a numeric IP address unless a domain is set for the server.
Besides where the server is, we need to know which port in the server we have to connect to. Think of ports as doors to the server, each of them specific for a protocol. When connecting to a website, we connect usually to the port 80. When we are using
SSHthe default port is 22 unless is changed by the server administrator
In this course we are going to practice with a server located at 144.76.203.10 and we are going to use the port 2222
2.1 Connecting to the server
2.1.1 Opening a terminal in our computer
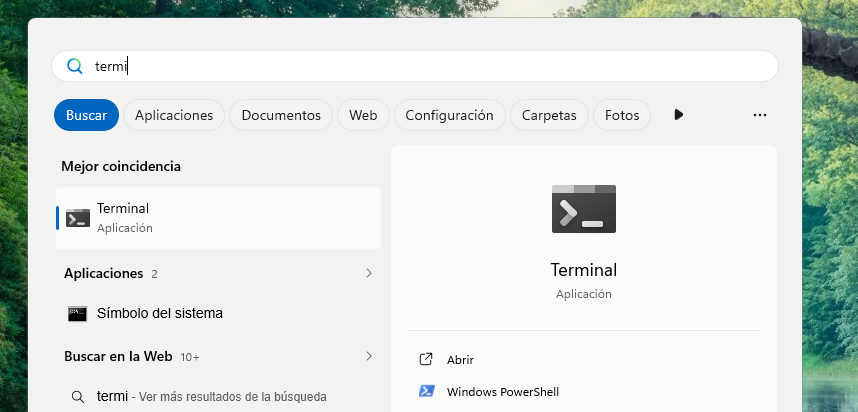
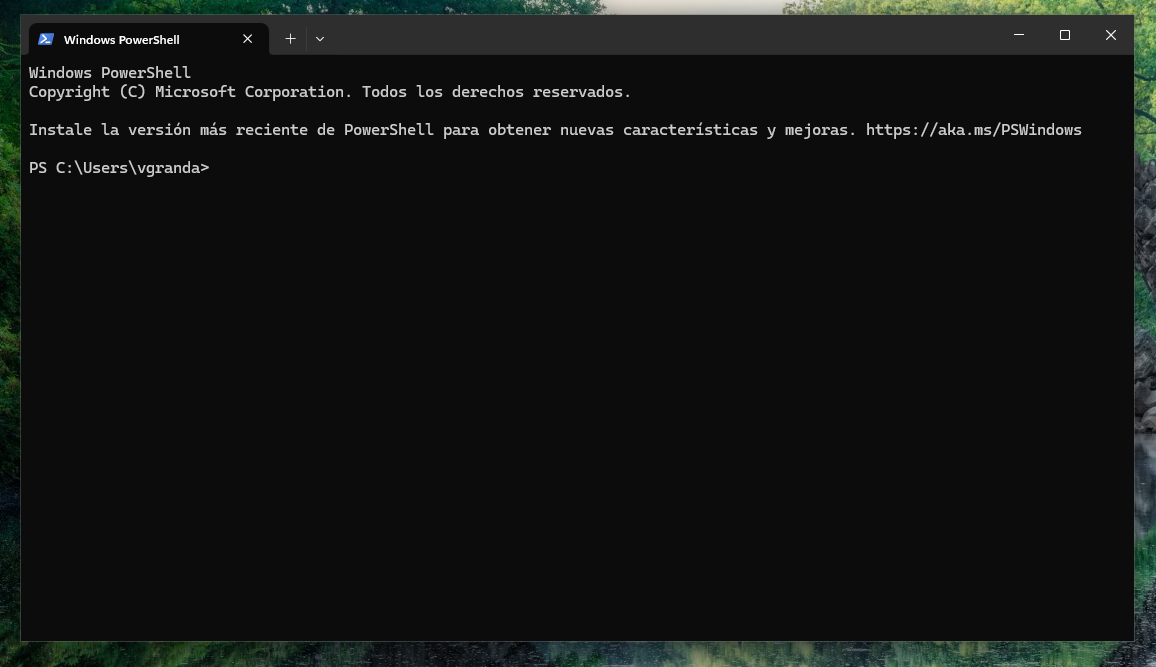
To connect to the server with SSH we need a terminal. In Windows (10 and 11) we can use the Windows Terminal or PowerShell (Figure 2.1, Figure 2.2). Mac users can use the Terminal or the iTerm2 apps. Linux users can use their preferred terminal and shell (Figure 2.3).

2.1.2 ssh command
Once we have the terminal open, we just need to execute the ssh command, indicating the user and the address (also the port if is not the standard 22)
ssh -p 2222 victor@144.76.203.10Let’s dissect the command:
ssh: SSH command-p 2222: the port we need to connect to is specified with the-pflagvictor@144.76.203.10user and address, separated by an @, you should change this with your username
If we execute (press Enter) this command, we will be prompted for the user’s password.
As you enter the password, you will notice no characters appears in the screen. This is normal. Just type your password and press Enter.
2.1.3 First connection
The first time we connect to a server, a warning will appear after entering the password:
The authenticity of host '[144.76.203.10]:2222 ([144.76.203.10]:2222)' can't be established.
ED25519 key fingerprint is: SHA256:*******************************************
This key is not known by any other names.
Are you sure you want to continue connecting (yes/no/[fingerprint])?
This is to ensure we are connecting to the correct server. Type yes and press Enter to add the server to the list of known hosts.
2.1.4 Using the server
Now we are in the remote server. We have several welcome messages:
Welcome to Ubuntu 24.04.4 LTS (GNU/Linux 6.8.0-124-generic x86_64)

 * Documentation:  https://help.ubuntu.com
 * Management:     https://landscape.canonical.com
 * Support:        https://ubuntu.com/pro

 System information as of Wed Jun 10 12:27:01 PM CEST 2026

  System load:  0.0              Processes:               170
  Usage of /:   0.2% of 1.77TB   Users logged in:         0
  Memory usage: 1%               IPv4 address for enp2s0: 144.76.203.10
  Swap usage:   0%               IPv6 address for enp2s0: 2a01:4f8:200:8409::2
  Temperature:  44.0 C

 * Strictly confined Kubernetes makes edge and IoT secure. Learn how MicroK8s
   just raised the bar for easy, resilient and secure K8s cluster deployment.

   https://ubuntu.com/engage/secure-kubernetes-at-the-edge

Expanded Security Maintenance for Applications is not enabled.

10 updates can be applied immediately.
7 of these updates are standard security updates.
To see these additional updates run: apt list --upgradable

Enable ESM Apps to receive additional future security updates.
See https://ubuntu.com/esm or run: sudo pro status


Last login: Wed Jun 10 10:59:19 2026 from 83.48.65.148
Also, the prompt has changed
victor@aula:~$ victorindicates the user connected
aulais the server name
~is the folder we are.~is a shorthand for the user personal folder
$indicates that we are a regular user
In the following chapters we will explore the commands and tools needed to interact with the server.